About this video
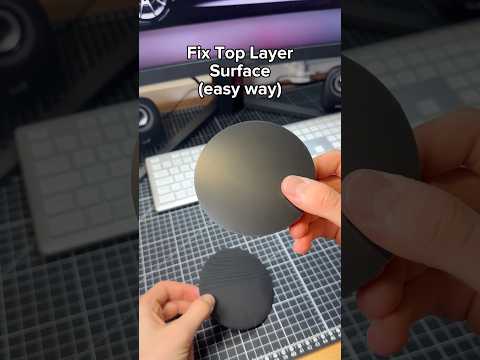
Why 3D Prints Get Ugly Top Lines
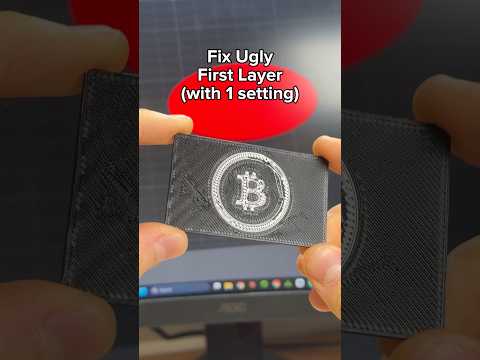
If you have ever noticed rough, layered lines across the top face of a 3D printed part, you are not alone. This common print quality issue happens when the slicer treats the top surface as multiple stacked sections instead of one continuous shell. The result is visible stepping, inconsistent layer adhesion, and a surface that looks rough to the touch.
The good news is that the fix only takes a minute and requires no hardware changes. Two slicer settings control how the top of your model is built, and toggling them correctly produces a noticeably smoother finish.
The Two Settings You Need to Change
1. Disable "Only One Wall on Top Surfaces"
Open your slicer (this walkthrough uses Cura) and navigate to the Quality settings panel. Look for the option called "Only One Wall on Top Surfaces." By default, this is set to Applied, which forces the printer to use a single outer wall on the top layer. Switch it to Not Applied so the slicer can lay down the full perimeter structure needed for a clean finish.
2. Enable Interface Shells
Next, move to the Strength settings panel and find "Interface Shells." Turn this setting On. Interface shells instruct the slicer to print the top and bottom surfaces as a single, unified part rather than breaking them into separate regions. This dramatically reduces visible seams and improves overall top-layer strength.
How to Unlock These Settings in Cura
If you cannot see either option in your Cura menu, the settings are hidden behind the developer toggle. Go to Preferences, select the Others tab, and enable Developer Mode. Once activated, all advanced settings become visible and editable.
Pro Tips for Even Better Top Surfaces
- Pair these settings with a slightly lower layer height (such as 0.12 mm instead of 0.2 mm) for the smoothest possible finish.
- Use ironing in the experimental settings to further polish the top layer.
- Make sure your top layer count is at least 4–5 layers for proper coverage.
- Combine with a monotonic top infill pattern to reduce visible infill lines.
FAQ
Do these settings increase print time?
Slightly. Interface shells add a small amount of perimeter printing, but the visual improvement is usually worth the extra minute or two.
Will this work on every printer?
Yes. These are slicer-level settings, so they work with any FDM printer supported by Cura, including Ender 3, Prusa, Bambu, and Voron machines.
Does this affect part strength?
Interface shells actually improve top-layer bonding, making the surface slightly stronger and more resistant to delamination.