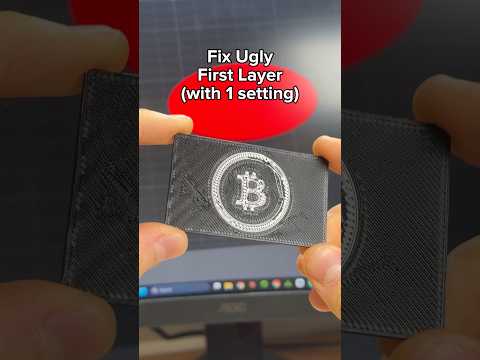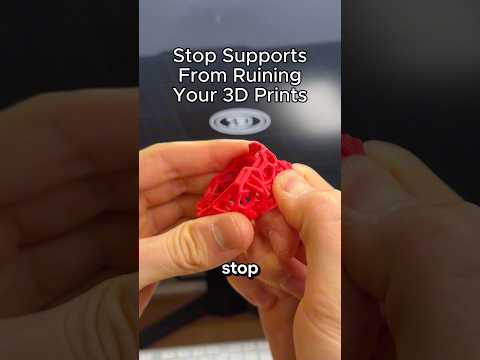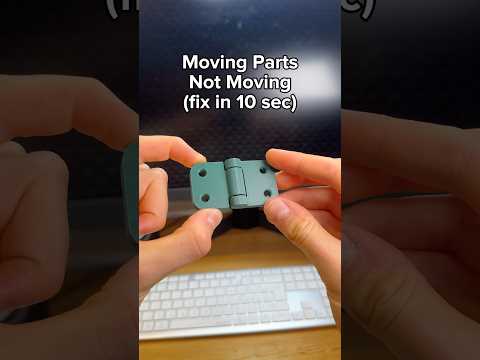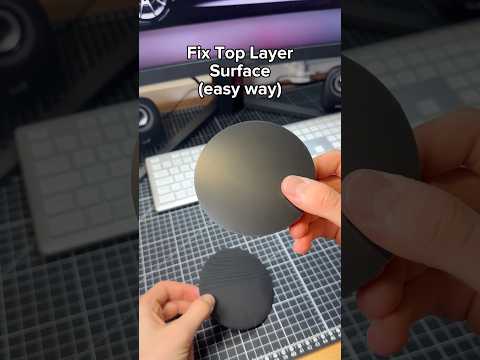
About this video
Why Build Connections Directly in the Slicer?
Most multi-part 3D prints are glued or bolted after printing, but modern slicers now ship with built-in joinery tools. Designing connections directly in your slicer saves modeling time, keeps your CAD workflow simple, and produces surprisingly strong assemblies without adhesives, screws, or extra hardware.
The 5 Best 3D Print Connections in Your Slicer
1. Classical Dovetail
The classic dovetail slides in and slides out, making it perfect for parts that need to be serviceable or modular. In most slicers, you can generate it with a single click by selecting the cut tool and switching the joint type to dovetail. Dovetails are excellent for shear strength, so they are ideal for drawer slides, panel joins, and structural boxes — though they are not meant to be permanent.
2. Angled Dovetail
The angled dovetail goes in, but only so far. By increasing the groove angle beyond the standard 90°, you create a wedge-style joint that locks once seated. This is great when you want a connection that is still removable with effort but will not pop apart under vibration or handling.
3. Dowel Connector
The dowel connector is the easiest to print on this list. Most slicers expose it under an "Add Connectors" menu, where you simply pick the dowel option and align it between two parts. Dowels are perfect for alignment, rotating joints, and low-stress assemblies, and they print flat on the bed with no supports.
4. Snap Fit
The snap fit snaps in but does not come back out. It is created by switching the slicer's cut tool to snap fit mode, which adds a small cantilevered lip that catches a groove in the mating part. Snap fits are the go-to choice for enclosures, battery covers, and consumer-style housings where you want a clean, tool-free assembly.
5. Threaded Connection
Threads screw in and hold firmly, but they also unscrew for disassembly. Enable the thread option in your slicer's connector menu and size the diameter to your printer's tolerance. Threads are ideal for functional parts like lamp housings, knobs, and adjustable fixtures.
Quick Tips for Better Slicer Joinery
- Test tolerance first. Print a single connector before committing to a full assembly, because every printer's dimensional accuracy is different.
- Orient for strength. Align dovetails and snap fits along the print's longest axis to take advantage of layer adhesion.
- Use 3+ walls. Thicker walls give connectors the material they need to resist snapping or wear.
- Clean up seams. A light pass with a hobby knife removes first-layer blobs that can block dovetail or snap fit engagement.
FAQ
Do slicer connectors work without supports? Most dovetails, dowels, and threads print support-free if oriented correctly.
Are these joints strong enough for load-bearing parts? Dovetails and threads are surprisingly strong, but for critical mechanical loads, add a hidden screw or pin.
Which slicer has these features? PrintPal and similar modern slicers include built-in dovetail, snap, dowel, and thread generators — no modeling plugin required.