About this video
Why Your 3D Print Top Layer Looks Ugly
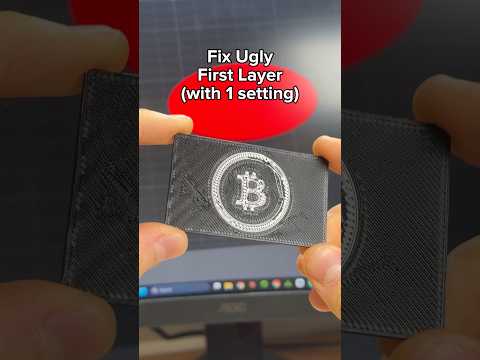
If your 3D printed parts keep showing rough, uneven, or gappy top layers, the problem usually comes down to one setting: top surface flow ratio. This value controls how much filament the printer extrudes during the final top solid layers of a print. Too much plastic and the surface looks bumpy or over-extruded; too little and you get gaps, holes, and a pitted finish.
The One-Test Calibration Method
Instead of guessing and tweaking slicer settings blindly, the fastest path to a smooth top layer is a purpose-built calibration test. On PrintPal, you can download a ready-to-print top layer calibration file that lays out multiple test zones in a single print. Each zone is printed with a slightly different flow ratio, so you can compare them side by side.
Step-by-Step Workflow
- Download the calibration test from PrintPal — the file is pre-configured and ready to slice.
- Print it on your 3D printer using your usual filament, nozzle, and temperature settings.
- Inspect the top layer and identify the zone with the smoothest, most consistent surface finish.
- Read the number printed under that zone — this is your ideal top surface flow ratio.
- Enter the value into your slicer's top surface flow ratio field (available in Cura, PrusaSlicer, OrcaSlicer, and Bambu Studio).
- Reprint your model and enjoy a clean, smooth top surface.
Pro Tips for Best Results
- Use the same filament and nozzle you plan to print with — calibration is material-specific.
- Print the test at the same layer height and speed as your real project for accurate results.
- Re-run the test whenever you change filament brands, spool batches, or nozzle sizes.
- Combine top flow calibration with temperature and pressure advance tuning for the best overall surface quality.
Frequently Asked Questions
What slicer setting controls the top layer?
Look for "Top Surface Flow Ratio" or "Top Solid Infill Flow" in your slicer. Multiplying your normal extrusion flow by this ratio gives the top layer its own extrusion multiplier.
Does this work for every material?
Yes. PLA, PETG, ABS, and TPU all benefit from top flow calibration, though the ideal value differs per material.
How long does the test take to print?
Most top layer calibration tests finish in under 30 minutes, making it one of the fastest 3D printer calibration tools available.